Google Sheets
Connect Google Sheets to axiom.ai to read data into your automations, write results back, find or update specific rows, and create new sheets on the fly.
Connect a Google Sheets account
- Open axiom.ai.
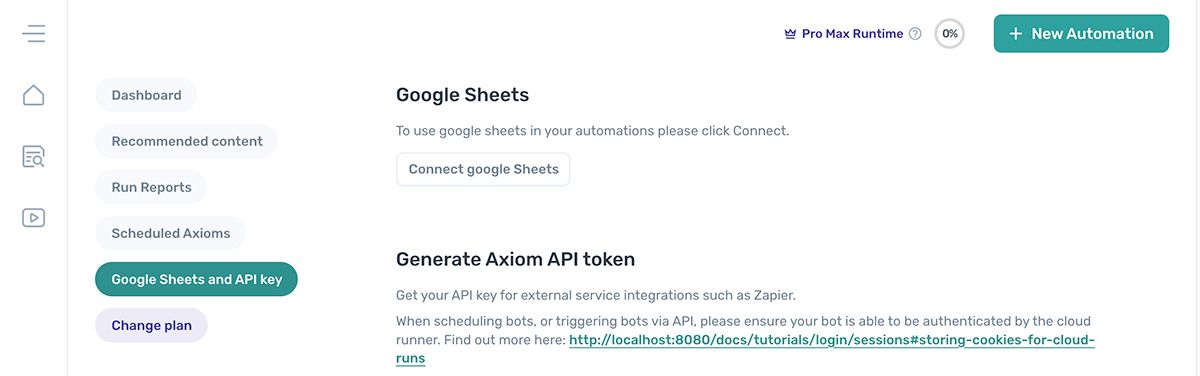
- Navigate to Google Sheets and API key.
- In the Google Sheets section, click Connect Google Sheets.
Disconnect Google Sheets
- Open axiom.ai.
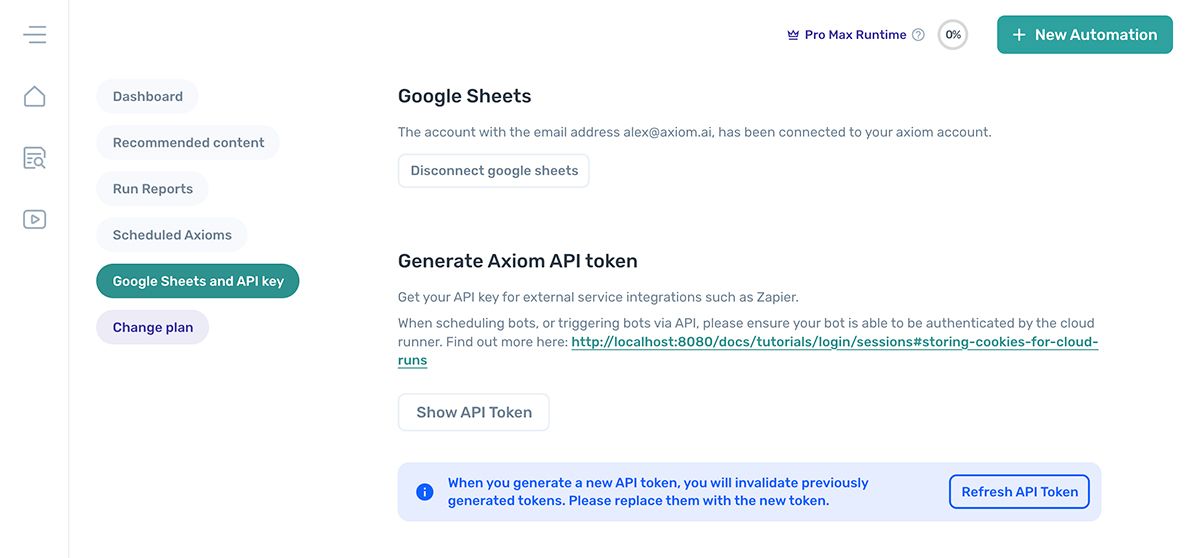
- Navigate to Google Sheets and API key.
- In the Google Sheets section, click Disconnect Google Sheets.
Create a new Google Sheet
The Create a new Google Sheet step creates a sheet in your Google Drive and returns the sheet URL as a variable. Use the variable in later steps to read or write to the new sheet.
Read data from a Google Sheet
The Read data from a Google Sheet step pulls data from a sheet into your automation.
Configuration options:
Spreadsheet: start typing the sheet name to autocomplete, or paste in the URL. Can be set from a variable.Sheet name: pick a specific tab from the dropdown.First cell: when enabled, set the first cell to read from. For example,A2skips a header row.Last cell: when enabled, set the last cell to read up to. For example,B10.Continue when empty: when enabled, the automation continues if the sheet has no data instead of erroring.
The step outputs a variable containing the sheet data. Use it in a Loop through data step to iterate row by row, or pass it to any other step that accepts data.
Write data to a Google Sheet
The Write data to a Google Sheet step writes data into a sheet from your automation.
Configuration options:
Spreadsheet: start typing the sheet name to autocomplete, or paste in the URL. Toggle Set sheet URL from data to drive this from a variable.Sheet name: pick a specific tab from the dropdown.Data: the variable containing the data to write. Pick it from the dropdown.Write options: choose Clear data before writing to overwrite the sheet, or Add to existing data to append.Write method: defaults to Raw, which writes data as-is. User entered simulates typing into the cell, which is useful for adding formulas.
Edit a specific row
You can use the Write data to a Google Sheet step to update a particular row instead of appending or overwriting:
- Set
Write optionsto Add to existing data so existing rows aren't cleared. - Set
First cellto the cell you want to write from, for exampleA2. Combine with the Find row in a Google Sheet step to target dynamically.
Find a row in a Google Sheet
The Find row in a Google Sheet step looks up rows that match a set of values.
Configuration options:
Spreadsheet: start typing the sheet name to autocomplete, or paste in the URL.Sheet name: pick a specific tab from the dropdown.Values: a comma-separated list of values to search for.Exact match: tick to match whole values rather than partial matches.Value matching mode: choose Any to match rows containing any value, or All to require all values.Columns: a comma-separated list of column numbers to search. For example,1,2searches columns A and B.
The step outputs a variable that includes the row number when a match is found.
Delete rows from a Google Sheet
The Delete rows from a Google Sheet step removes a contiguous range of rows.
Configuration options:
Spreadsheet: start typing the sheet name to autocomplete, or paste in the URL.Sheet name: pick a specific tab from the dropdown.First row to delete: the row number to start from.Last row to delete: the row number to end at.
Clear data from a Google Sheet
The Clear data from a Google Sheet step empties a range of cells without deleting the rows themselves.
Configuration options:
Spreadsheet: start typing the sheet name to autocomplete, or paste in the URL.Sheet name: pick a specific tab from the dropdown.First cell: the start of the range to clear, for exampleA3.Last cell: the end of the range to clear, for exampleB33.
Convert Excel to Google Sheets
axiom.ai's Google Sheets steps don't read native Microsoft Excel files. To use an Excel file, convert it first:
- Upload the
.xlsor.xlsxfile to a Google Drive folder. - Open the file in Google Sheets.
- Click File > Save as Google Sheets.
For native Excel support, see the Excel integration.
Google token expiry
When you connect Google Sheets to axiom.ai, axiom.ai stores a token from Google instead of your password. Google sometimes expires these tokens with no notice.
This is controlled entirely by Google. The most common pattern we've seen is high-frequency reads and writes triggering the expiry. If your token expires often, consider running the automation less frequently.