Schedule an automation
Schedule your automation to run when you want it to. You can schedule an automation to run in the cloud or locally on your desktop. You have the flexibility to set the start date, time, and frequency. However, scheduling is only available on paid subscriptions from the Pro tier upwards. By default scheduled automations run in the cloud.
How to schedule an automation
To access the scheduler, edit an automation. Once in the builder:
- First, click the kebab menu icon (three dots) top right hand corner.
- Next, Click on the gear icon ‘Settings’.
- Finally in the settings menu click "Schedule".
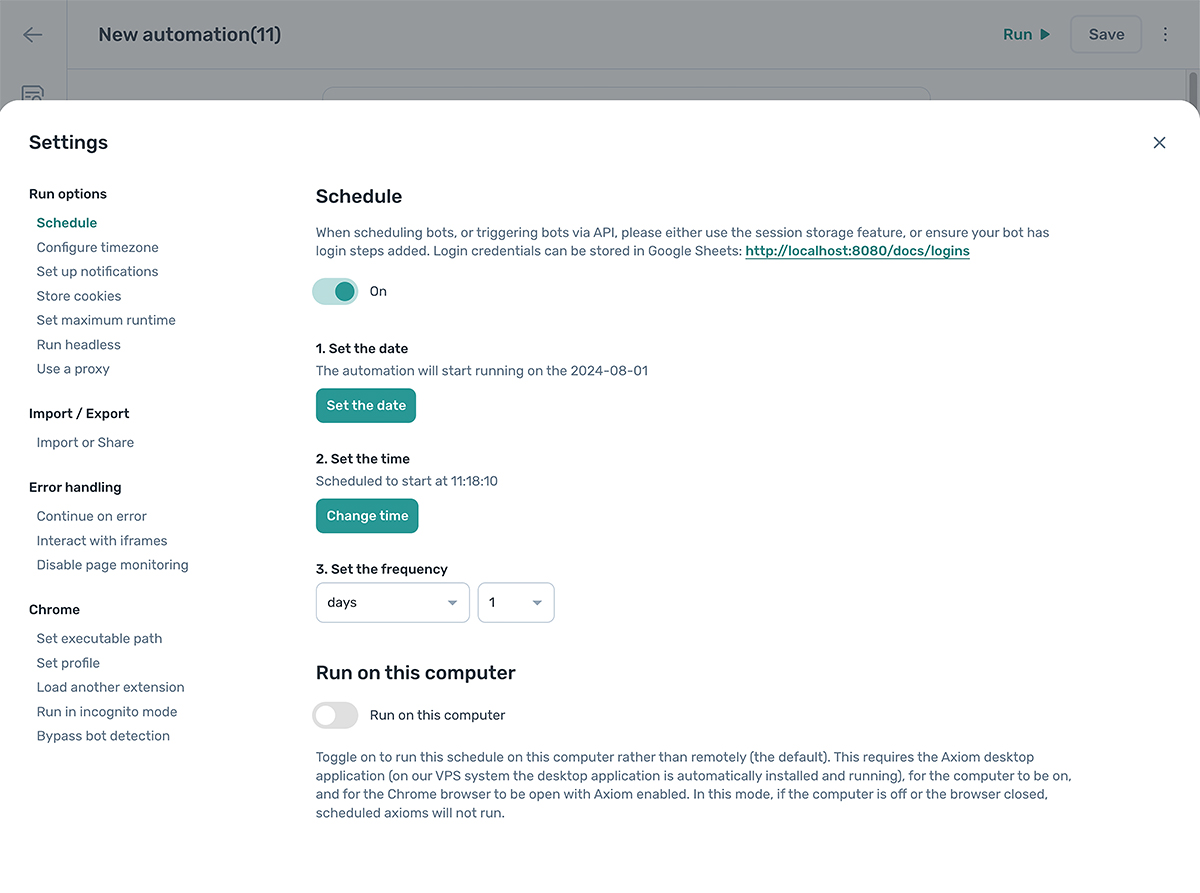
Turn the scheduler on
Toggle the scheduler from "Off" to "On". To disable the scheduler, simply toggle it back to "Off."
Set the start date
Click the "Set the date" button to open a popup window containing a calendar. If necessary, select a month by clicking the right arrow to change months. The default is set to today. Then select a day. Once done, click "Set date". Dates in the past cannot be set.
Set the start time
Next click the "Set the time" button to open a popup window containing a clock. If necessary, select AM and PM times to set a start time. The default is set to now. Once done, click "Set time". Times in the past cannot be set.
Set schedule frequency
Choose the frequency from the dropdown list, ‘daily’ frequency will be the default option. After configuring the frequency, the scheduler will be active.
Depending on your subscription frequency options will vary.
Schedule automations locally
To run a schedule locally rather than in the cloud, toggle the ‘Run on this computer’ option. Ignore this setting to run in the cloud.