Working with Zapier
# Trigger Zapier from Axiom
Axiom can be used to trigger any webhook, for example, in Zapier, Make/Integromat, or other apps that support webhook integration.

Please check the relevant documentation in your app to setup your webhook endpoint.
Here's Zapier's guide, for example. (opens new window),
# Use fetch to trigger Zapier
For more control, or to receive data back from Zapier, you will need to use a "Write javascript" step.
The code looks like this:
// Input your desired data below
const body = {
  first_name: "Wade",
  last_name: "Foster",
  age: 29
}

// Replace the URL below with the URL of your webhook
const url = "https://hooks.zapier.com/catch/123456/aDif37"

const rawResponse = await fetch(url, {
  headers: {
    "Content-type": "application/json"
  },
  method: "POST",
  body: JSON.stringify(body)
})
let content = await rawResponse.json()

// Manipulate the response data however you wish here.

return [[content]]
Data output from other steps can also be used here. For more information on how to do this, please see Inputting Data to 'Write Javascript'.
# Trigger Axiom from Zapier
Please Note: An Axiom Pro tier subscription or higher is required
To trigger an axiom from Zapier, follow these step-by-step instructions:
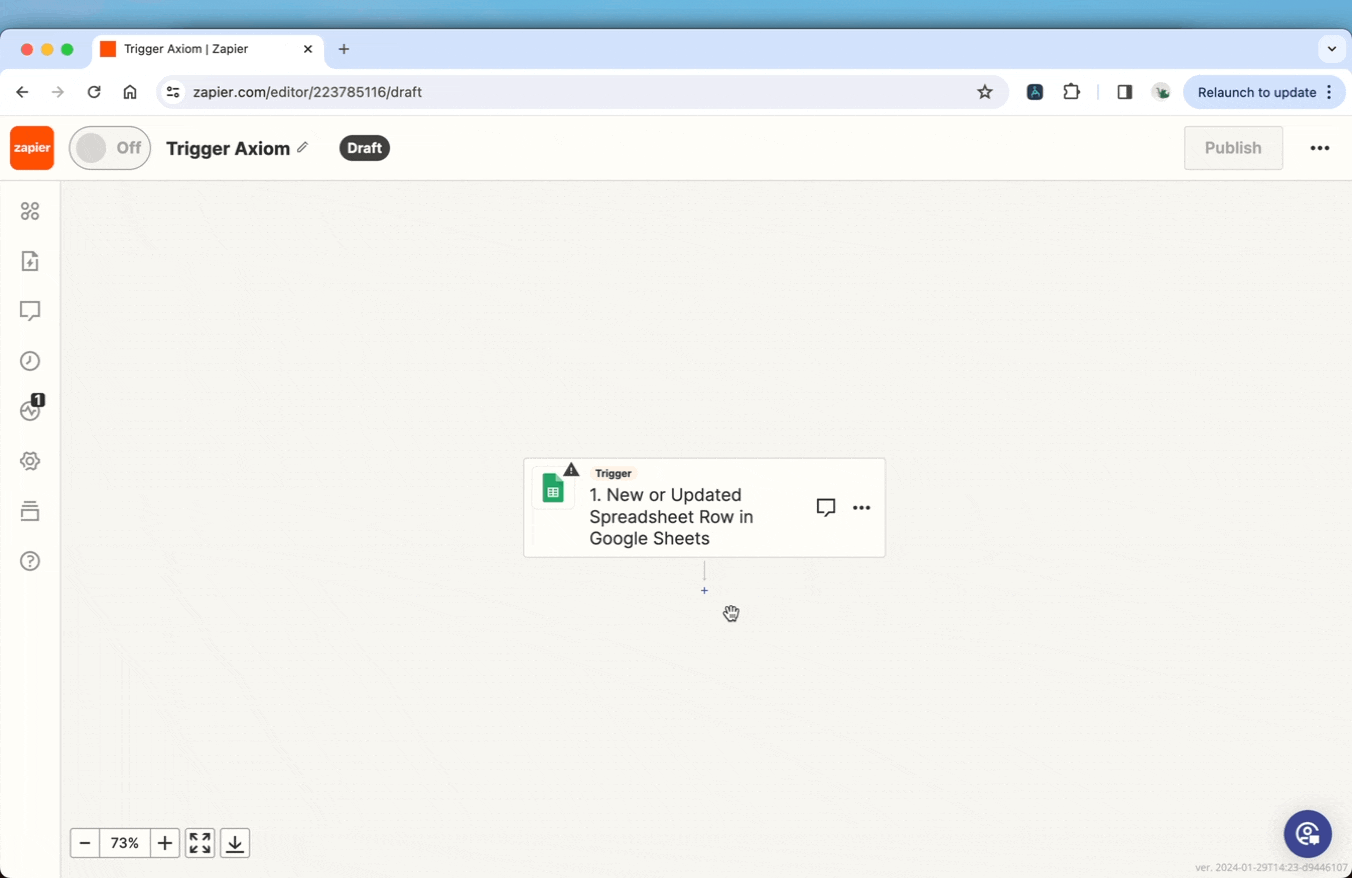
- Begin by selecting a trigger event, such as "New or Updated Spreadsheet Row in Google Sheets", depending on your specific workflow.
- Once you've chosen your trigger event, click the "+" button to add an action to your Zap.
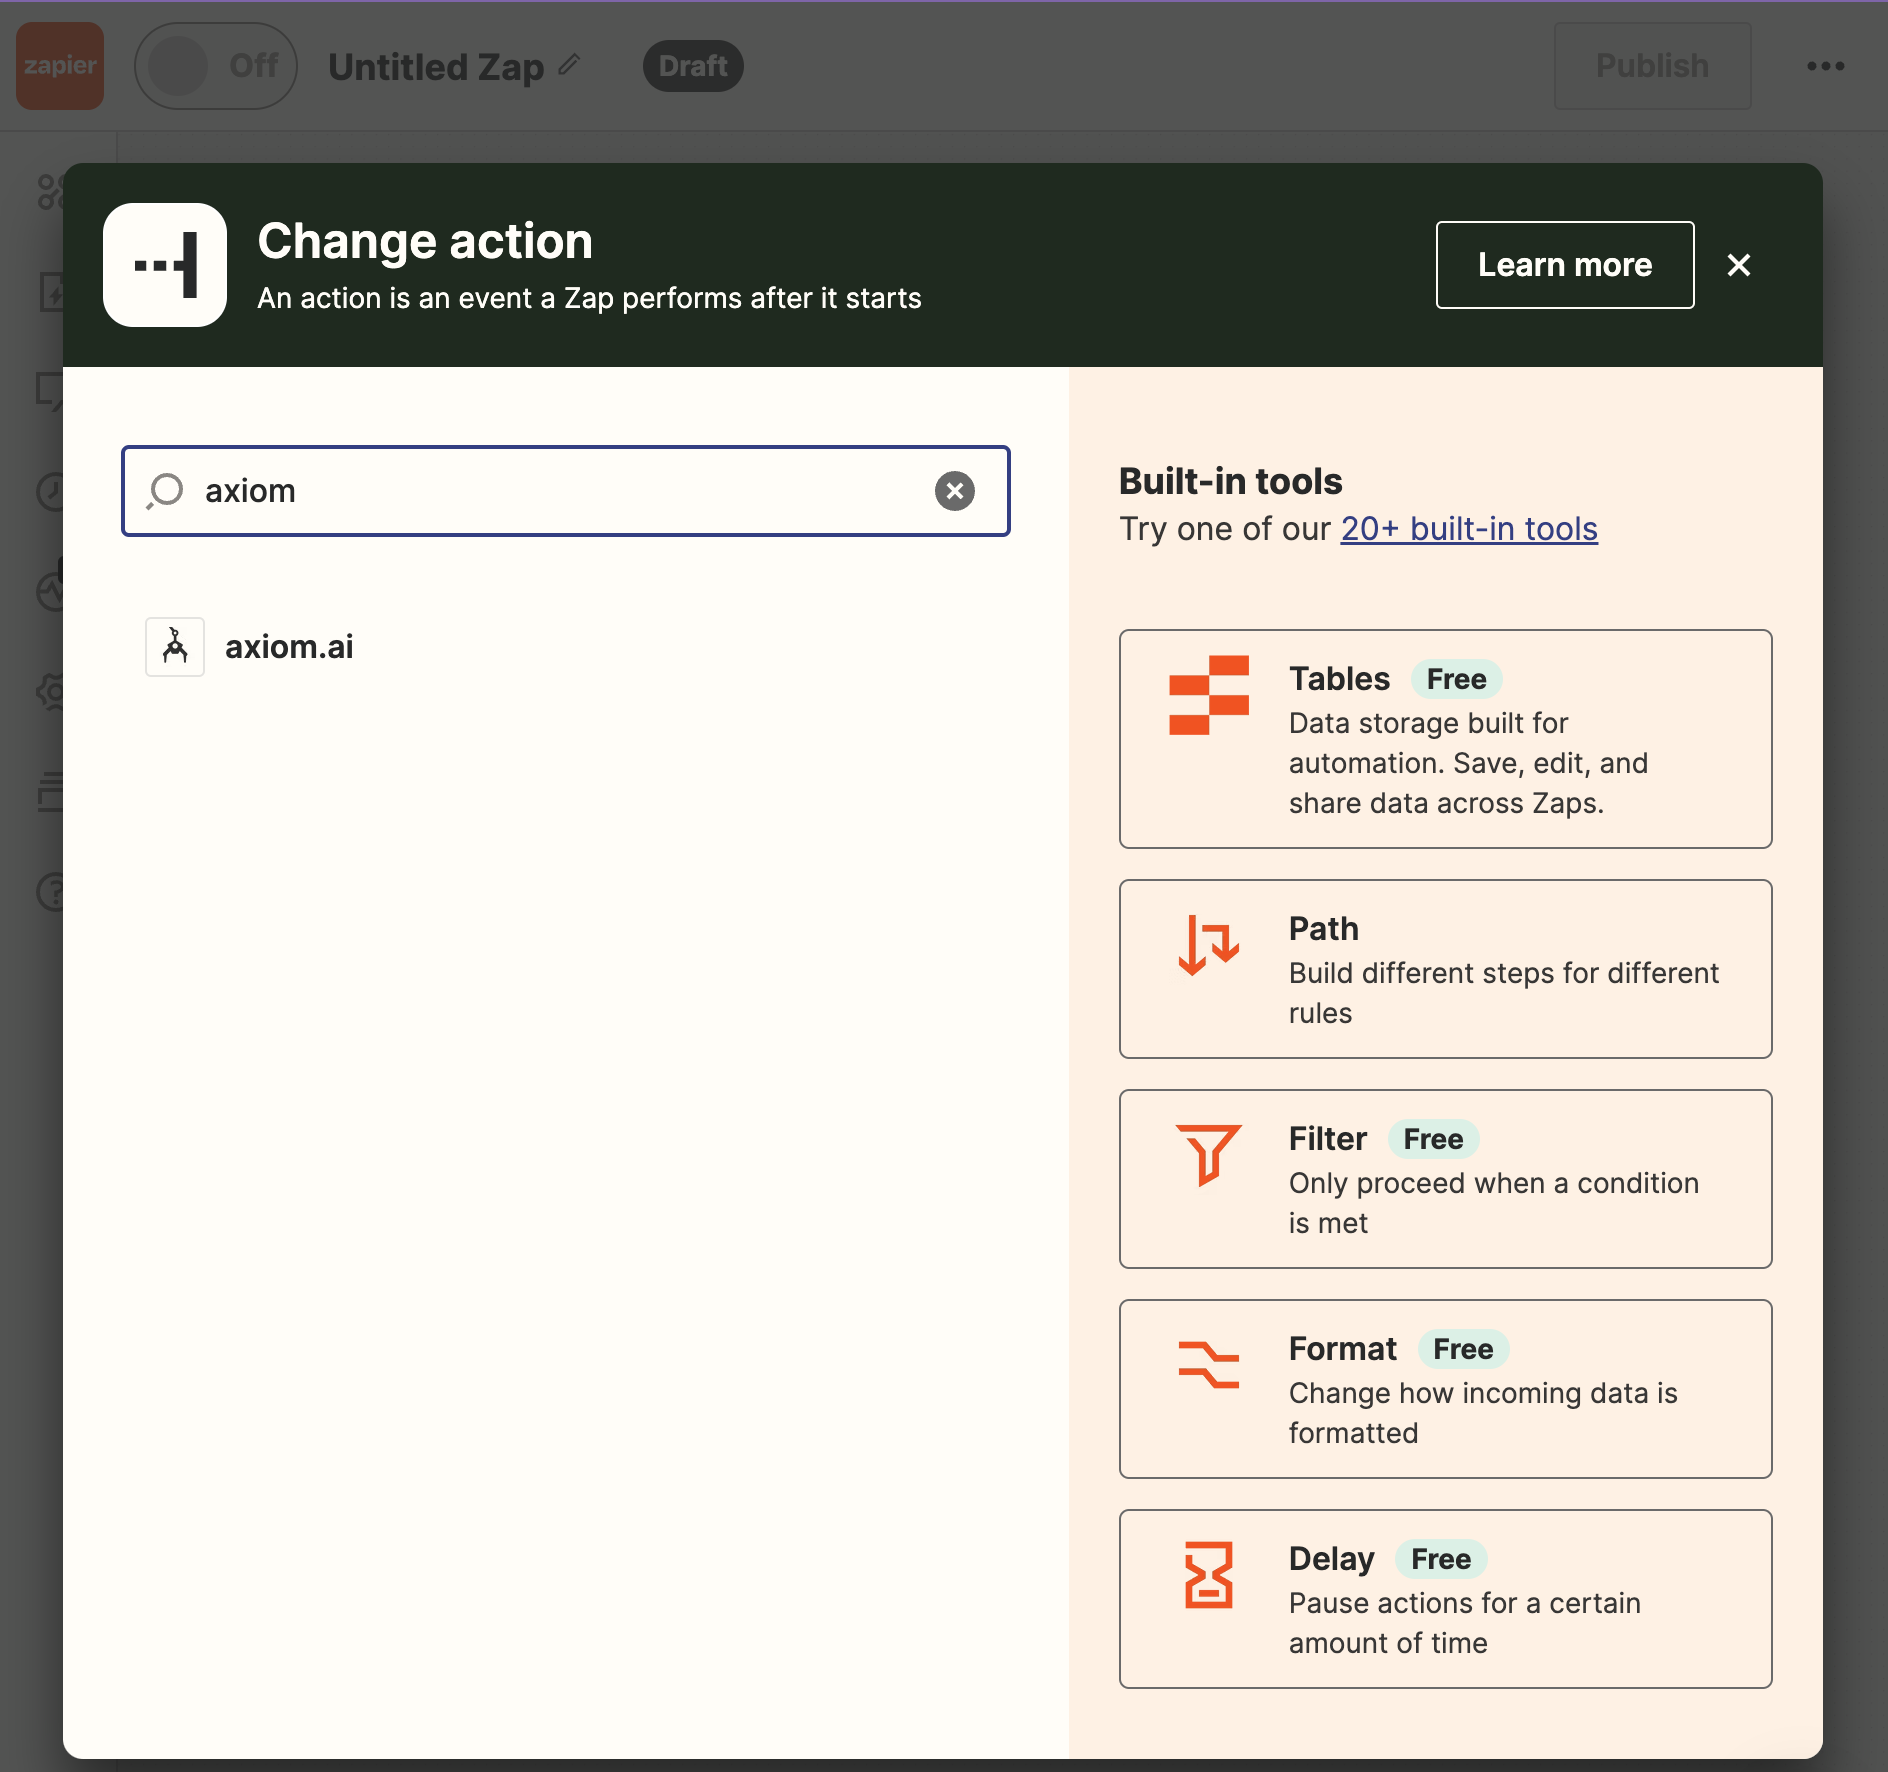
- In the search bar, type "axiom.ai" to locate the Axiom integration.
- Select the trigger event labelled "Run an Axiom" to proceed.
- Click "Continue" to initiate the connection process with your axiom.ai account.
- You will be prompted to sign in to your axiom.ai account. Click the "Sign In" button.
- In the pop-up window that appears, enter your Axiom API key.
- After entering your API key, click on "Yes, Continue to axiom.ai" to authorize the API access.
- With your API now authorized, click on "Action" to specify your Axiom project's name and define the data you wish to pass into Axiom using the input columns.
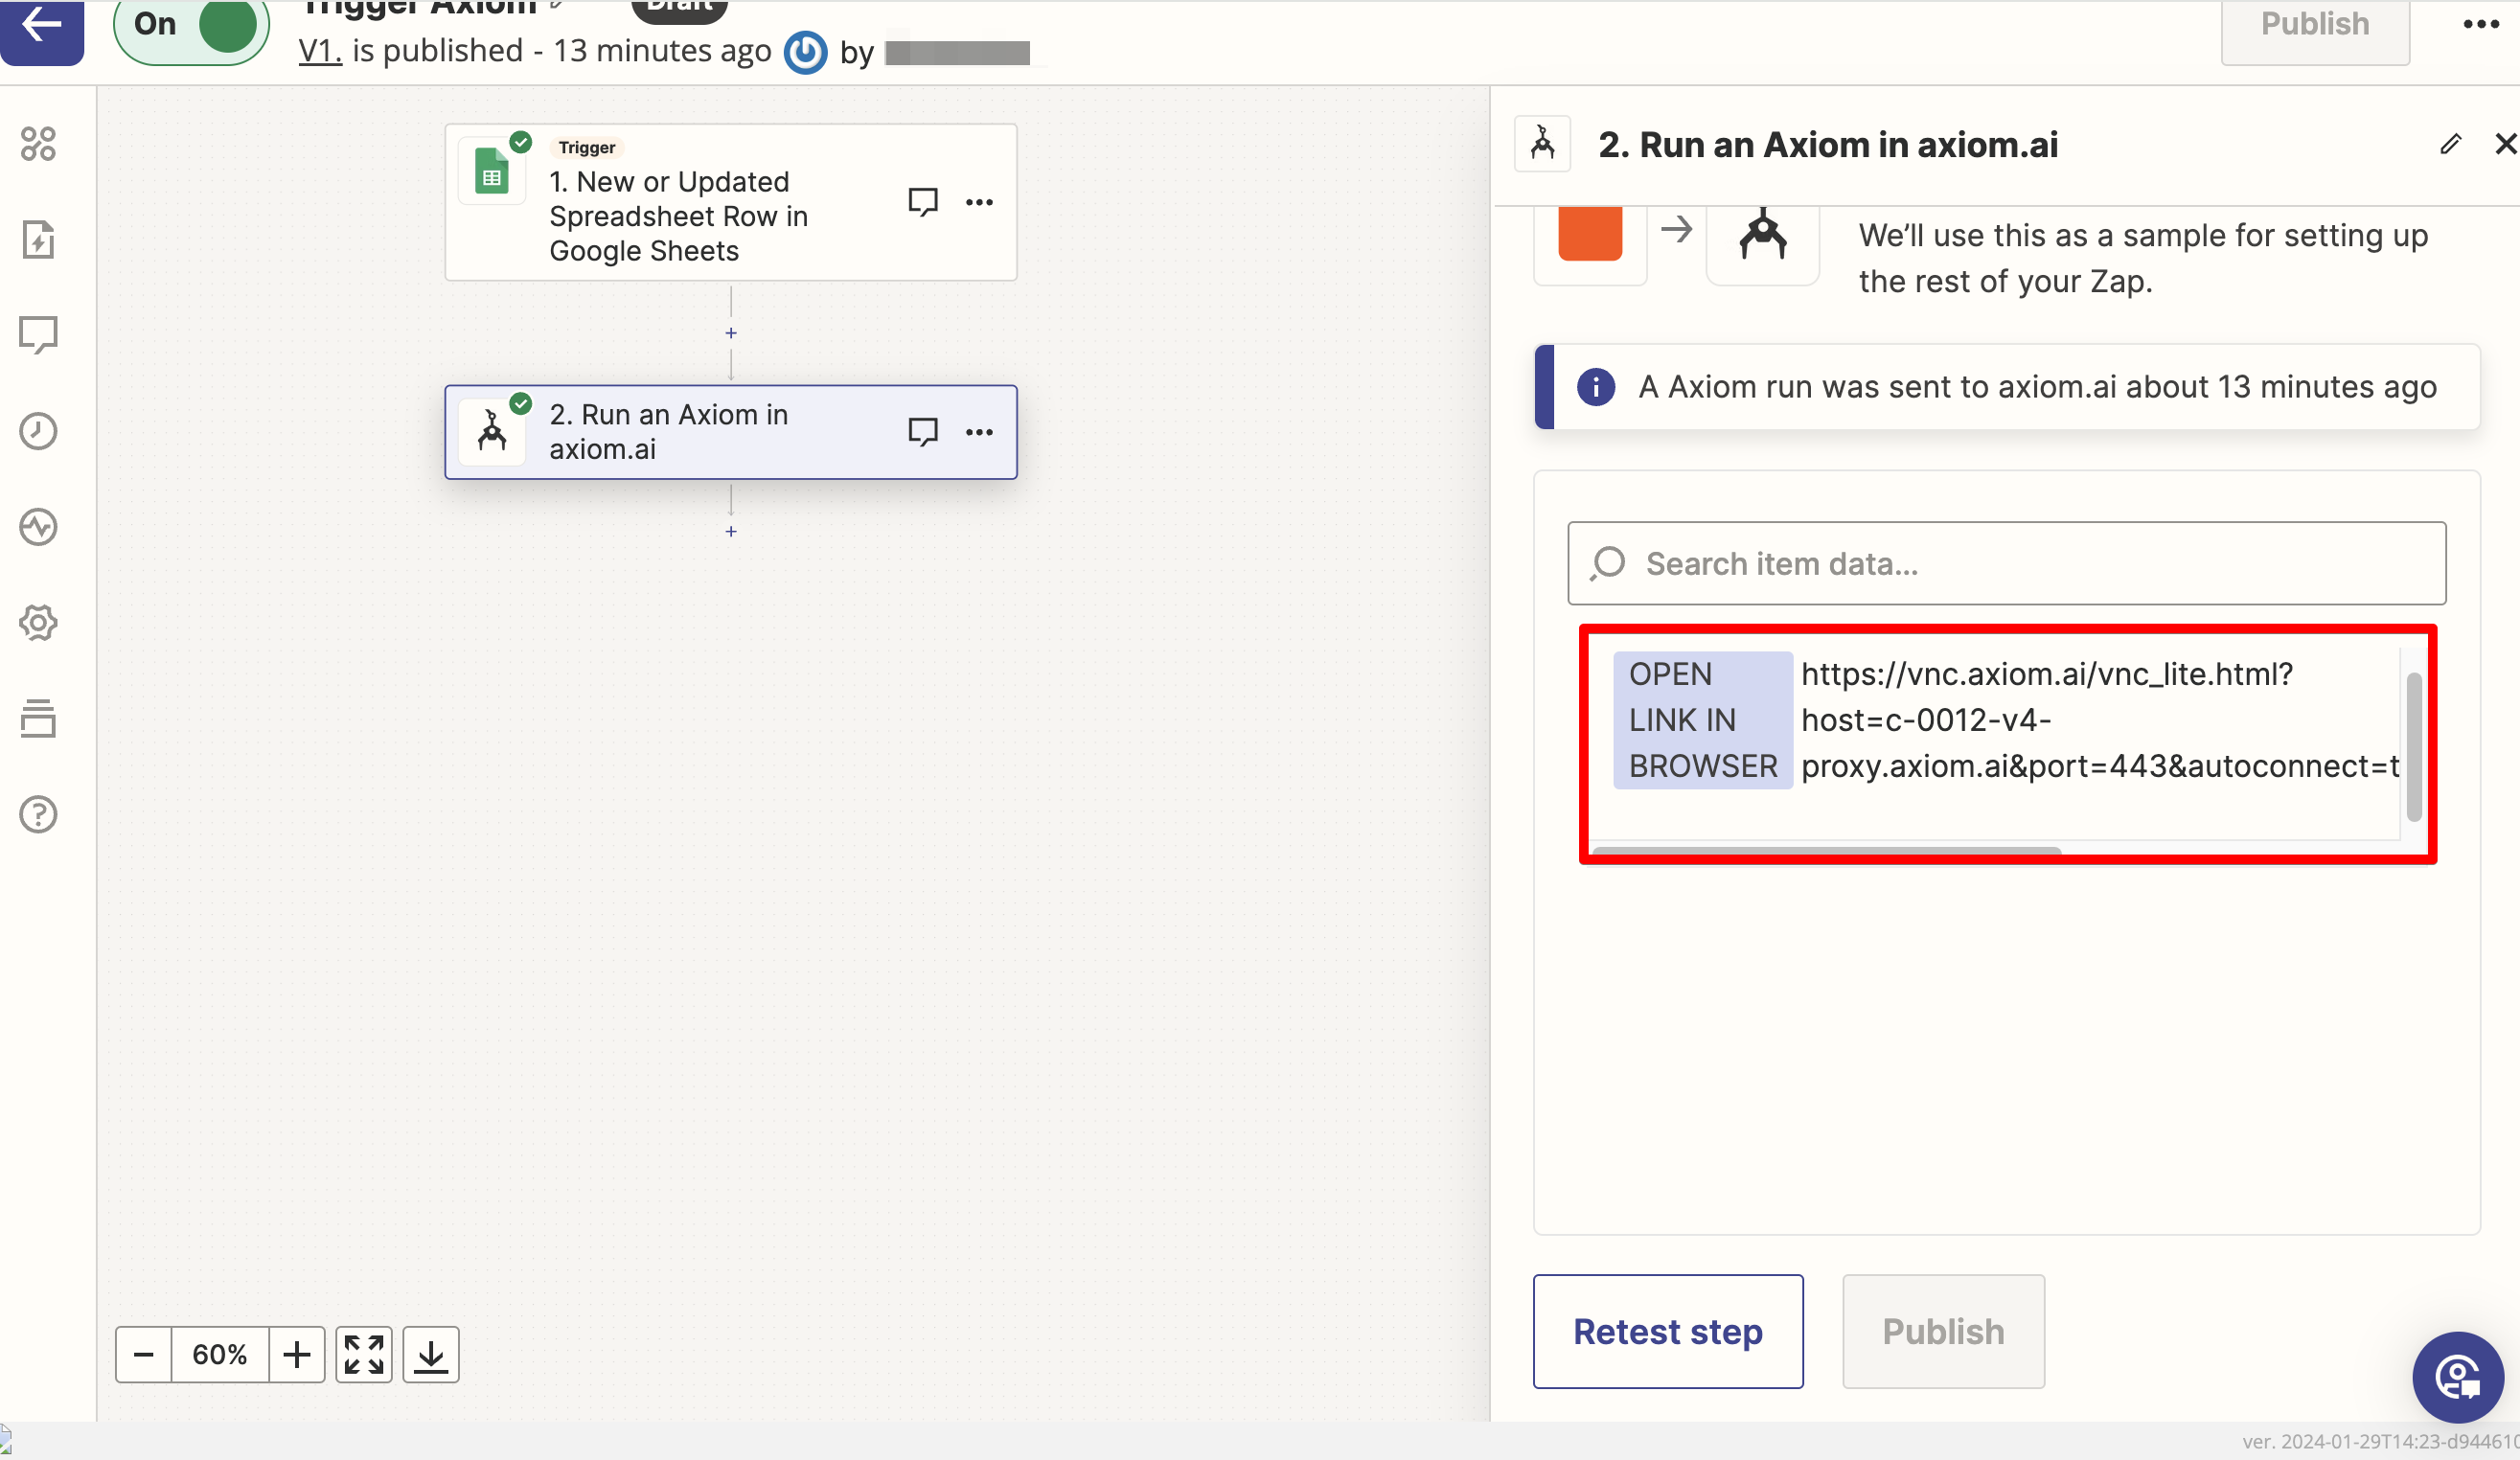
You should now see an option to "Test step" or "Retest step". Click this, and if successful, axiom will send back a link with the message 'OPEN LINK IN BROWSER'. Copy-paste this link into your browser window to see axiom run.
# Create a working bot without Zapier
A common mistake is to start building an Axiom with Zapier integration at the start.
This will result in a longer more confusing development process. First, get your bot working without Zapier integration. For example, you can test that axiom works with your site using hard-coded values.
Get to the point where your bot performs all necessary UI actions independently.
# Add Zapier integration after the bot works
Axiom has a Zapier app that can be used to trigger axioms. To use this, you'll need to export your API token from axiom.
# Generate an API token
Your API token can be found in the Axiom extension by clicking on the 'Google Sheets and API key' link in the main menu and clicking the 'Show API Token' button.
You can change your API token by clicking the "Refresh API token" button. Remember that if you use this feature, you will need to update your API key wherever it has been used.
# Select Axiom's Zapier App within Zapier
Once a connection between Zapier and Axiom has been set up, Axiom.ai will be available as an action, within Zapier.
# Input the data to send axiom
Input the data to send axiom. First name the axiom you would like to trigger, then the columns of data you would like to send it.
We recommend sending one row of data to axiom at a time.

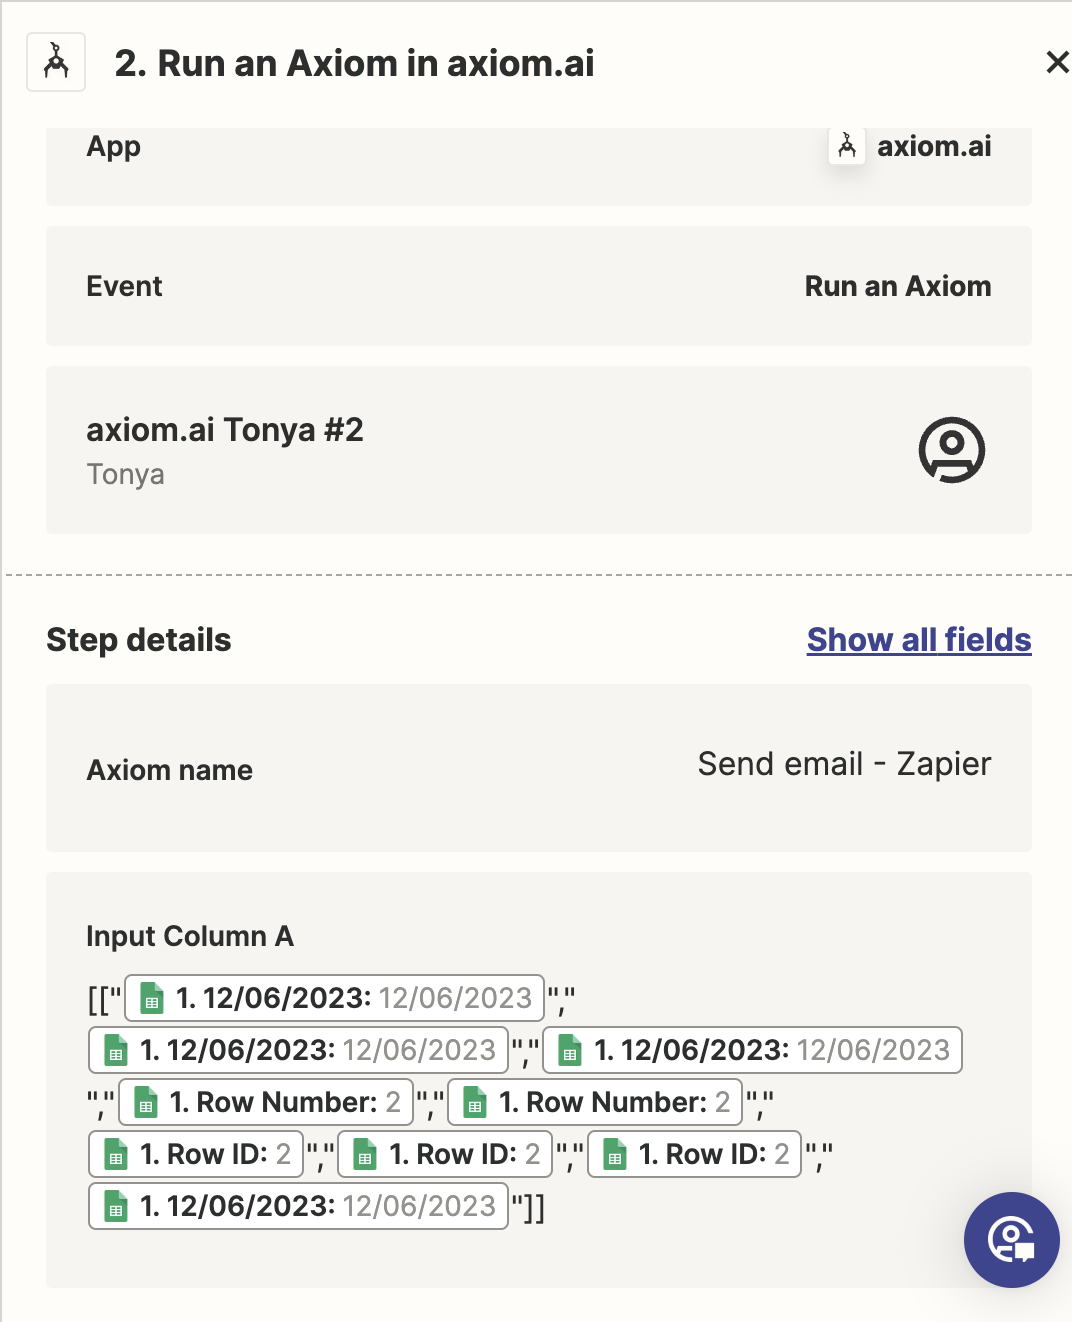
# Send more than 5 columns of data from Zapier via webhook
If you would like to send more than 5 columns of data, or multiple rows simultaneously, input a 2D Array into Column A of the Zapier App's form, as follows:
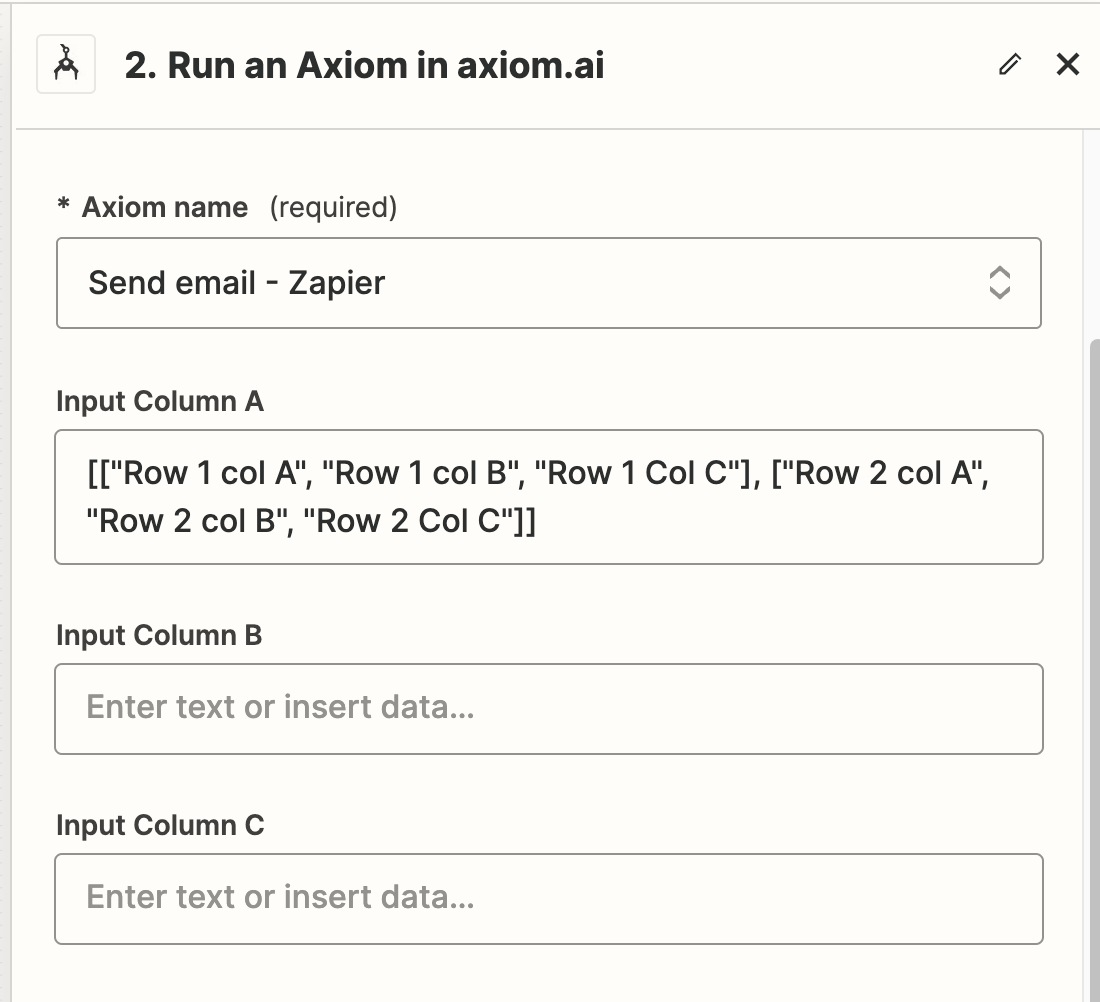
You can copy-paste this example of 6 columns. Please substitute A1, B1, C1 for the variables in Zapier:
[["A1", "B1", "C1","D1", "E1", "F1"]]
It is possible to send the data from Zapier dynamically using the data from Zapier:
If you find formatting this data difficult, we recommend the alternative approach of writing data to a Google Sheet and using axiom's Read data from Google Sheet step
# Receive Data From Axiom
There are two ways to send data to axiom:
- Use
Receive data from another appwidget as the first step in your automation. The data sent when the automation is triggered will then be available to your automation as a token.- After you have tested the Zapier trigger, you'll see a preview of the data within the output of 'Receive data from another app'.
- If the data preview is not up-to-date, reload your axiom and re-open this step to refresh the preview.
- Use
Read data from Google Sheetas the first step in your automation.- Before triggering your axiom, write to the Google sheet from Zapier.
- This is our recommended approach, as it allows data to be inspected easily.

# Manage Zapier-Axiom Connection Limitations
API Call Limitation:
To protect our infrastructure, each account is restricted to 20 API calls within a 5-minute window. Exceeding this limit will result in a "429 Too Many Requests" error from the server.
Trigger Speed:
Normally, when Zapier triggers Axiom, it should happen instantaneously. However, the speed depends on Zapier's webhook delivery. On Axiom's side, it's nearly immediate, with exceptions:
- If a user has reached their allocated allowed axioms (based on their tier), the task is queued until a free slot becomes available.
- Sending more than 4 requests per minute will be blocked (as part of spam/DDoS protection measures). Webhooks may experience delays or not work if there are issues with our servers (for completeness).
Sending Data Back to Zap:
To send data from Axiom back to the same Zap, you need to set up Axiom automation to write data to a Google Sheet. Subsequently, you can create another Zap that monitors new rows in the sheet to continue your workflow.