Automating the UI
# Automate the UI
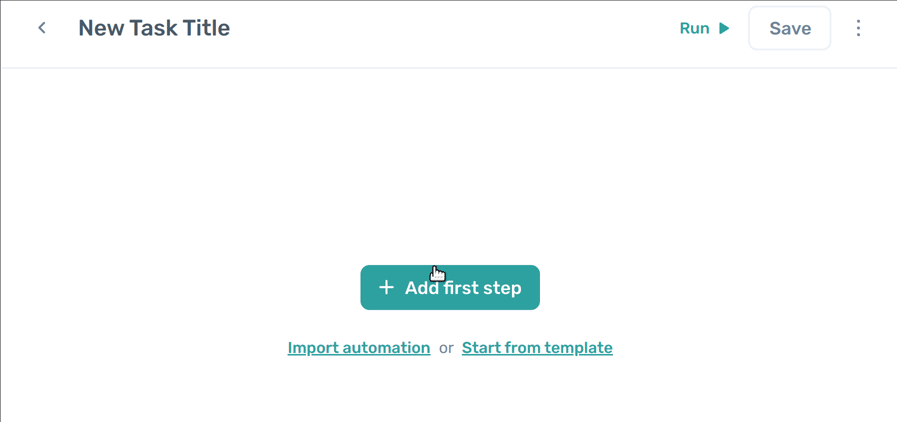
Before automating a web interface, a bot must go to the URL you need to automate.
To do this add a Go to page step, before adding any UI interactions.
Add the URL you want to this box, or click the "Get current URL" button to grab the current URL from the page:
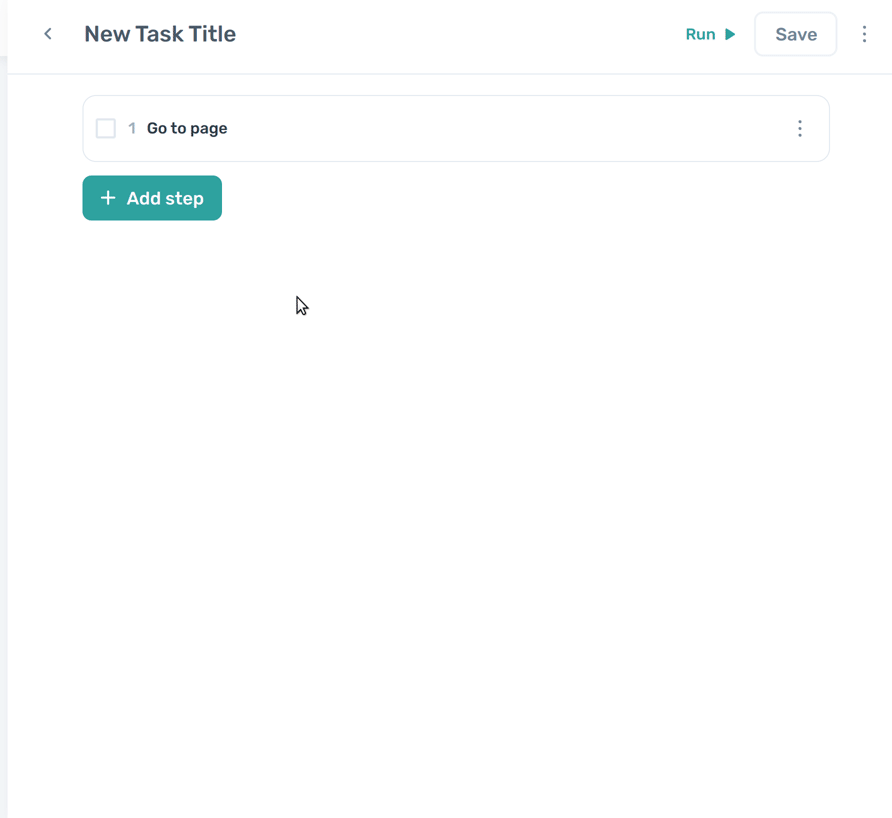
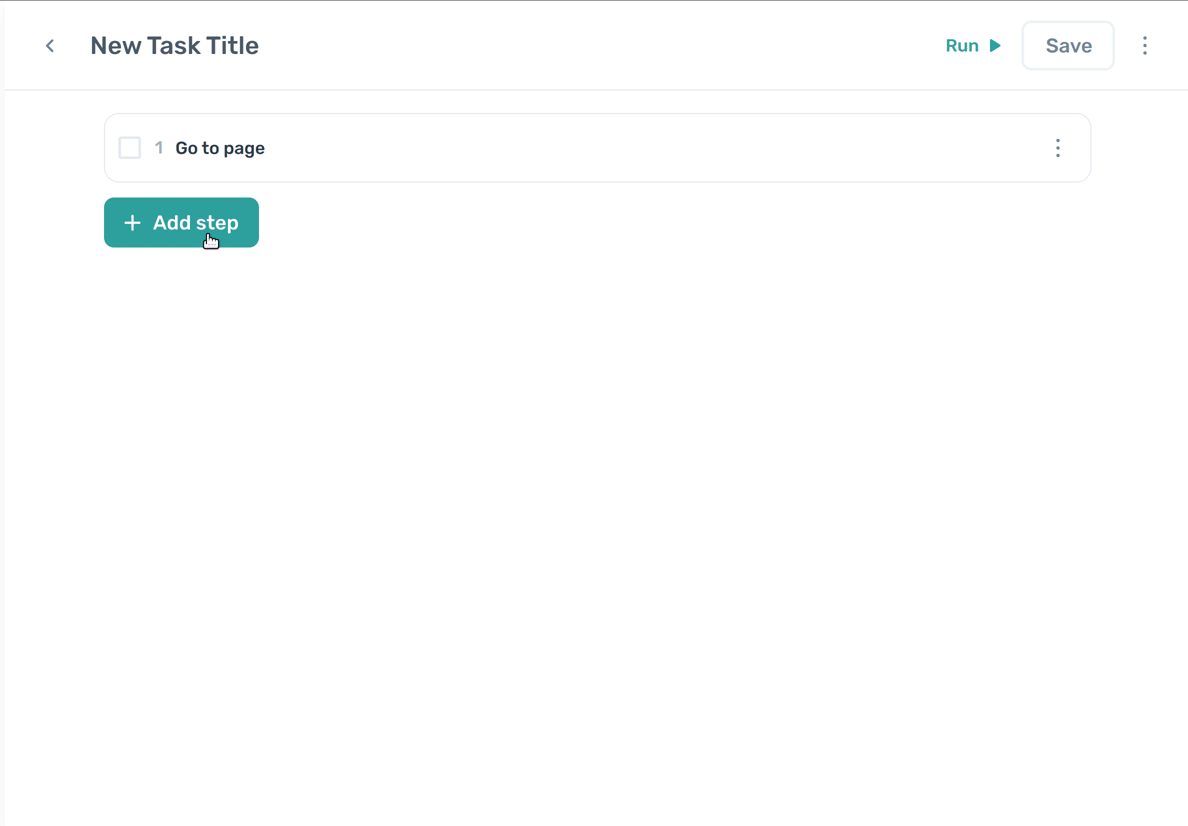
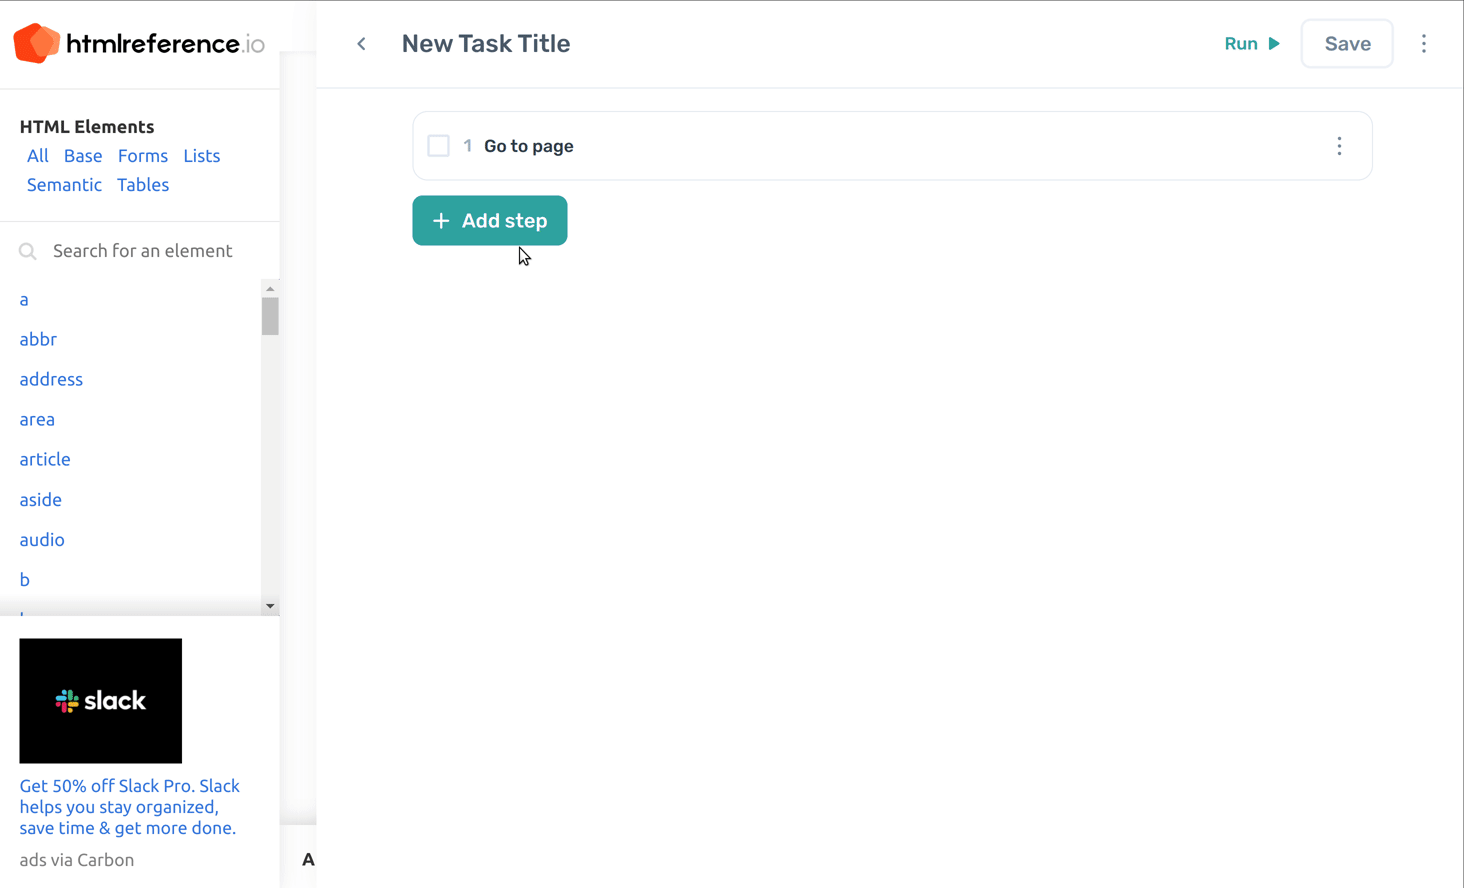
Once this is done, Interaction steps can be added to the UI interaction bot by clicking the "Add step" button, then choosing 'Interact':
Interact steps include Click, Enter Text, and pressing Keyboard shortcuts and more.
# Fill in a web form
- To enter text into a field, click the "Add Step" button, and select the "Enter text" step.
- Click "Select text field" to load the selector interface. Click on the field you want to enter text into on the page, and enter the text you want to place within the field. If you wish to use data from a previous step, you can select it from the "Insert Data" dropdown, then select the column you want from the preview.

Once you have set up the fields as you require, you can get the UI bot to submit the form by clicking "Add sub-step", selecting the "Click Element" sub step, and then selecting the submit button from the page.
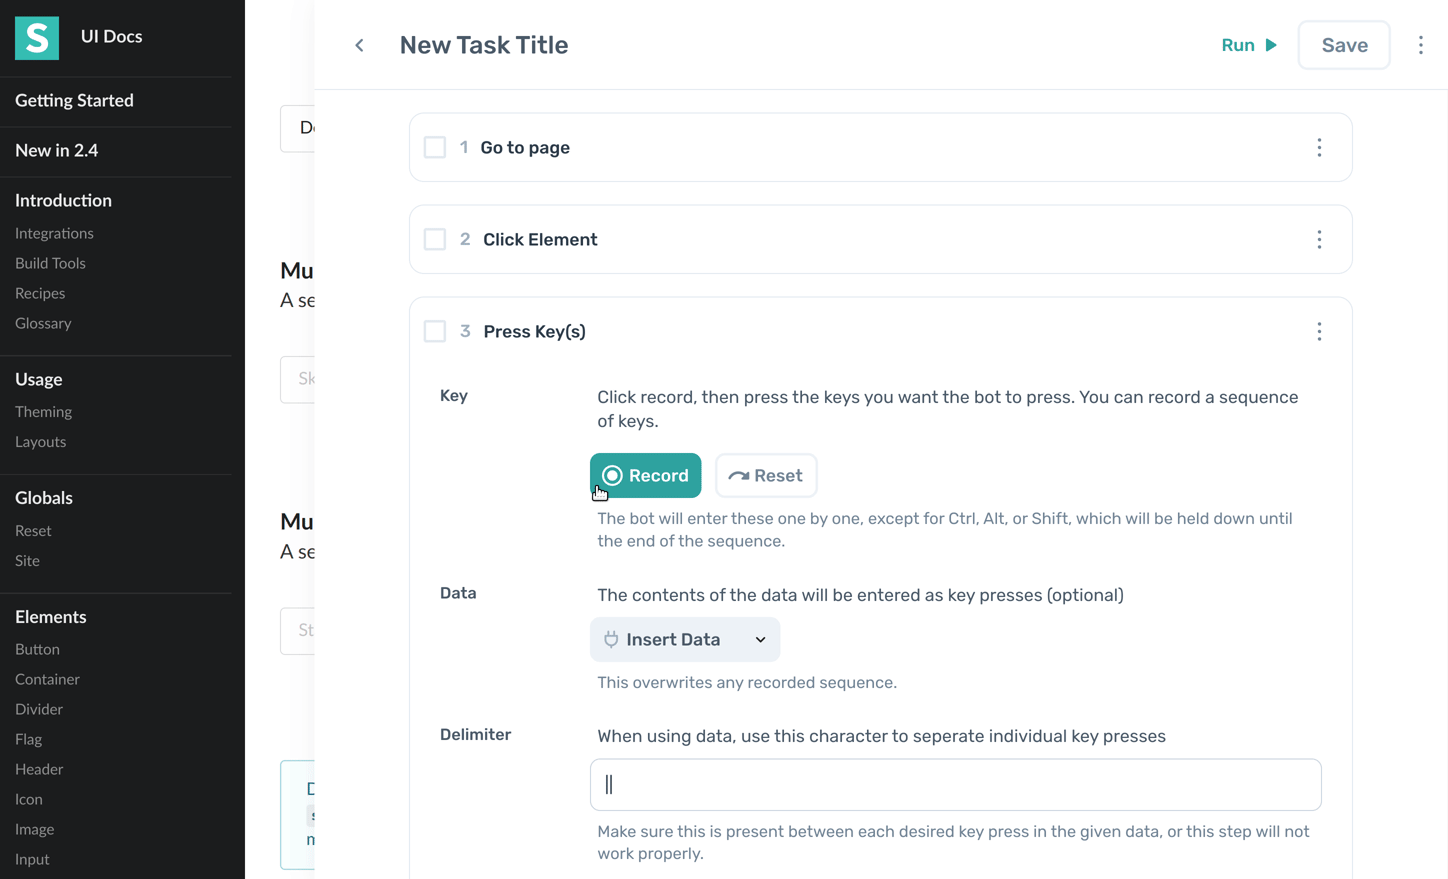
You can use the "Press key(s)" sub step to interact with more complex elements, such as drop downs. This is done by first clicking on the element you want to select by choosing the "Click Element" sub step, and then,once this is configured, adding a "Press key(s)" sub step. Click "Record" and press the required keys on your keyboard, usually the "down" cursor to select a particular item.
# Loop through data
In Loop through pages and scrape, we showed you how you can set up a scraper to loop through a list of pages.
This looping concept can be applied more generally. In fact, you can loop through any data using the method described there.
When adding data for the first time to any sub step within an Loop through data step, Axiom will automatically create a loop - you can see this in the UI by the "Looping through: [data-name]" text and graphic. The sub steps within the Loop through data step will then repeat once for each row in the given data, exactly like a for loop in a programming language like Python.
Alternatively, you can enter the data manually by clicking the header of the Loop through data step and inserting the data you would like to loop through using the Loop through data dropdown. This is useful when you want Axiom to loop a certain number of times (one for each row of the data) but do not wish to actually use any of the passed data in the automation.
Note that the "Loop" step can only loop through one set of data at a time. For more complicated looping structures, see Conditional logic and looping.
# Scrape in a loop
You can use the web scraper as a sub step within the Loop through data step. The scraper works exactly as described in Scrape a page, but with a few differences.
Firstly, the default limit on the results scraped is set to one row. This is usually what is wanted, but can be changed easily as described above.
Secondly, when adding multiple scrape sub steps to the Loop through data step, Axiom will automatically join the data extracted by the scrapes together into the same row. A new row is created every time the Loop through data step loops.
For example, if you created one scraper sub step that scraped the following data:
| A | B |
|---|---|
| John Smith | 10 Garboldesham Lane |
And a second scraper sub step which scraped this:
| A | B |
|---|---|
| 0800170594 | jsmith@somecompany.com |
In the data produced by the Loop through data step, these two data would be automatically joined into:
| A | B | C | D |
|---|---|---|---|
| John Smith | 10 Garboldesham Lane | 0800170594 | jsmith@somecompany.com |
On the next loop it would start a new row, and continue in this fashion until finished.
This behaviour is most commonly used with scrapers, and is useful if you need to perform clicks or some other step to access data on a page. However, it applies to any step used. For example, the same thing happens with custom javascript that returns data, or to the results of a "Current Url" step; these are also appended to the same row within a loop.
# Automate select lists
Axiom’s select list feature can be used to select options from simple dropdown menus where the HTML is structured using the <select> and <option> elements. If the dropdown does not conform to the select HTML element, there are alternative ways to interact with it effectively.
# Use Select list step
The “Select List" step instructs the bot to choose a value from a select list or dropdown form field:
- Once the page is loaded, Axiom helps you find the dropdown list on the page. It looks for the specific HTML code that represents the dropdown.
- You can tell Axiom which option you want to choose. For example, if the dropdown has options like "Red," "Green," and "Blue," you can tell Axiom to select "Green."
- Axiom simulates the action of selecting "Green" from the dropdown list by clicking on the appropriate option for you.
- When Axiom finds the dropdown and the option you specified, it successfully selects the option. If something goes wrong, like if the dropdown or the option doesn't exist, Axiom will let you know.
To use the select list step:
- After a page is loaded (With a
Go to pagestep for example) click the “Add step” button. - Choose
Select Listin the step listing - In the “Text” field add the value for the bot to select.
# Use Click Element and Enter text
In certain cases, you can select an option in a dropdown field by simply typing the desired text. The dropdown will automatically filter and highlight the closest match based on the text entered:
- After a page is loaded (With a
Go to pagestep for example) click the “Add step” button. - Choose
Click Elementin the step listing and click the select list. - Choose
Enter Textin the step listing. - In the “Text” field input the select list value for the bot to select.
# Use Click Element and Press keys steps
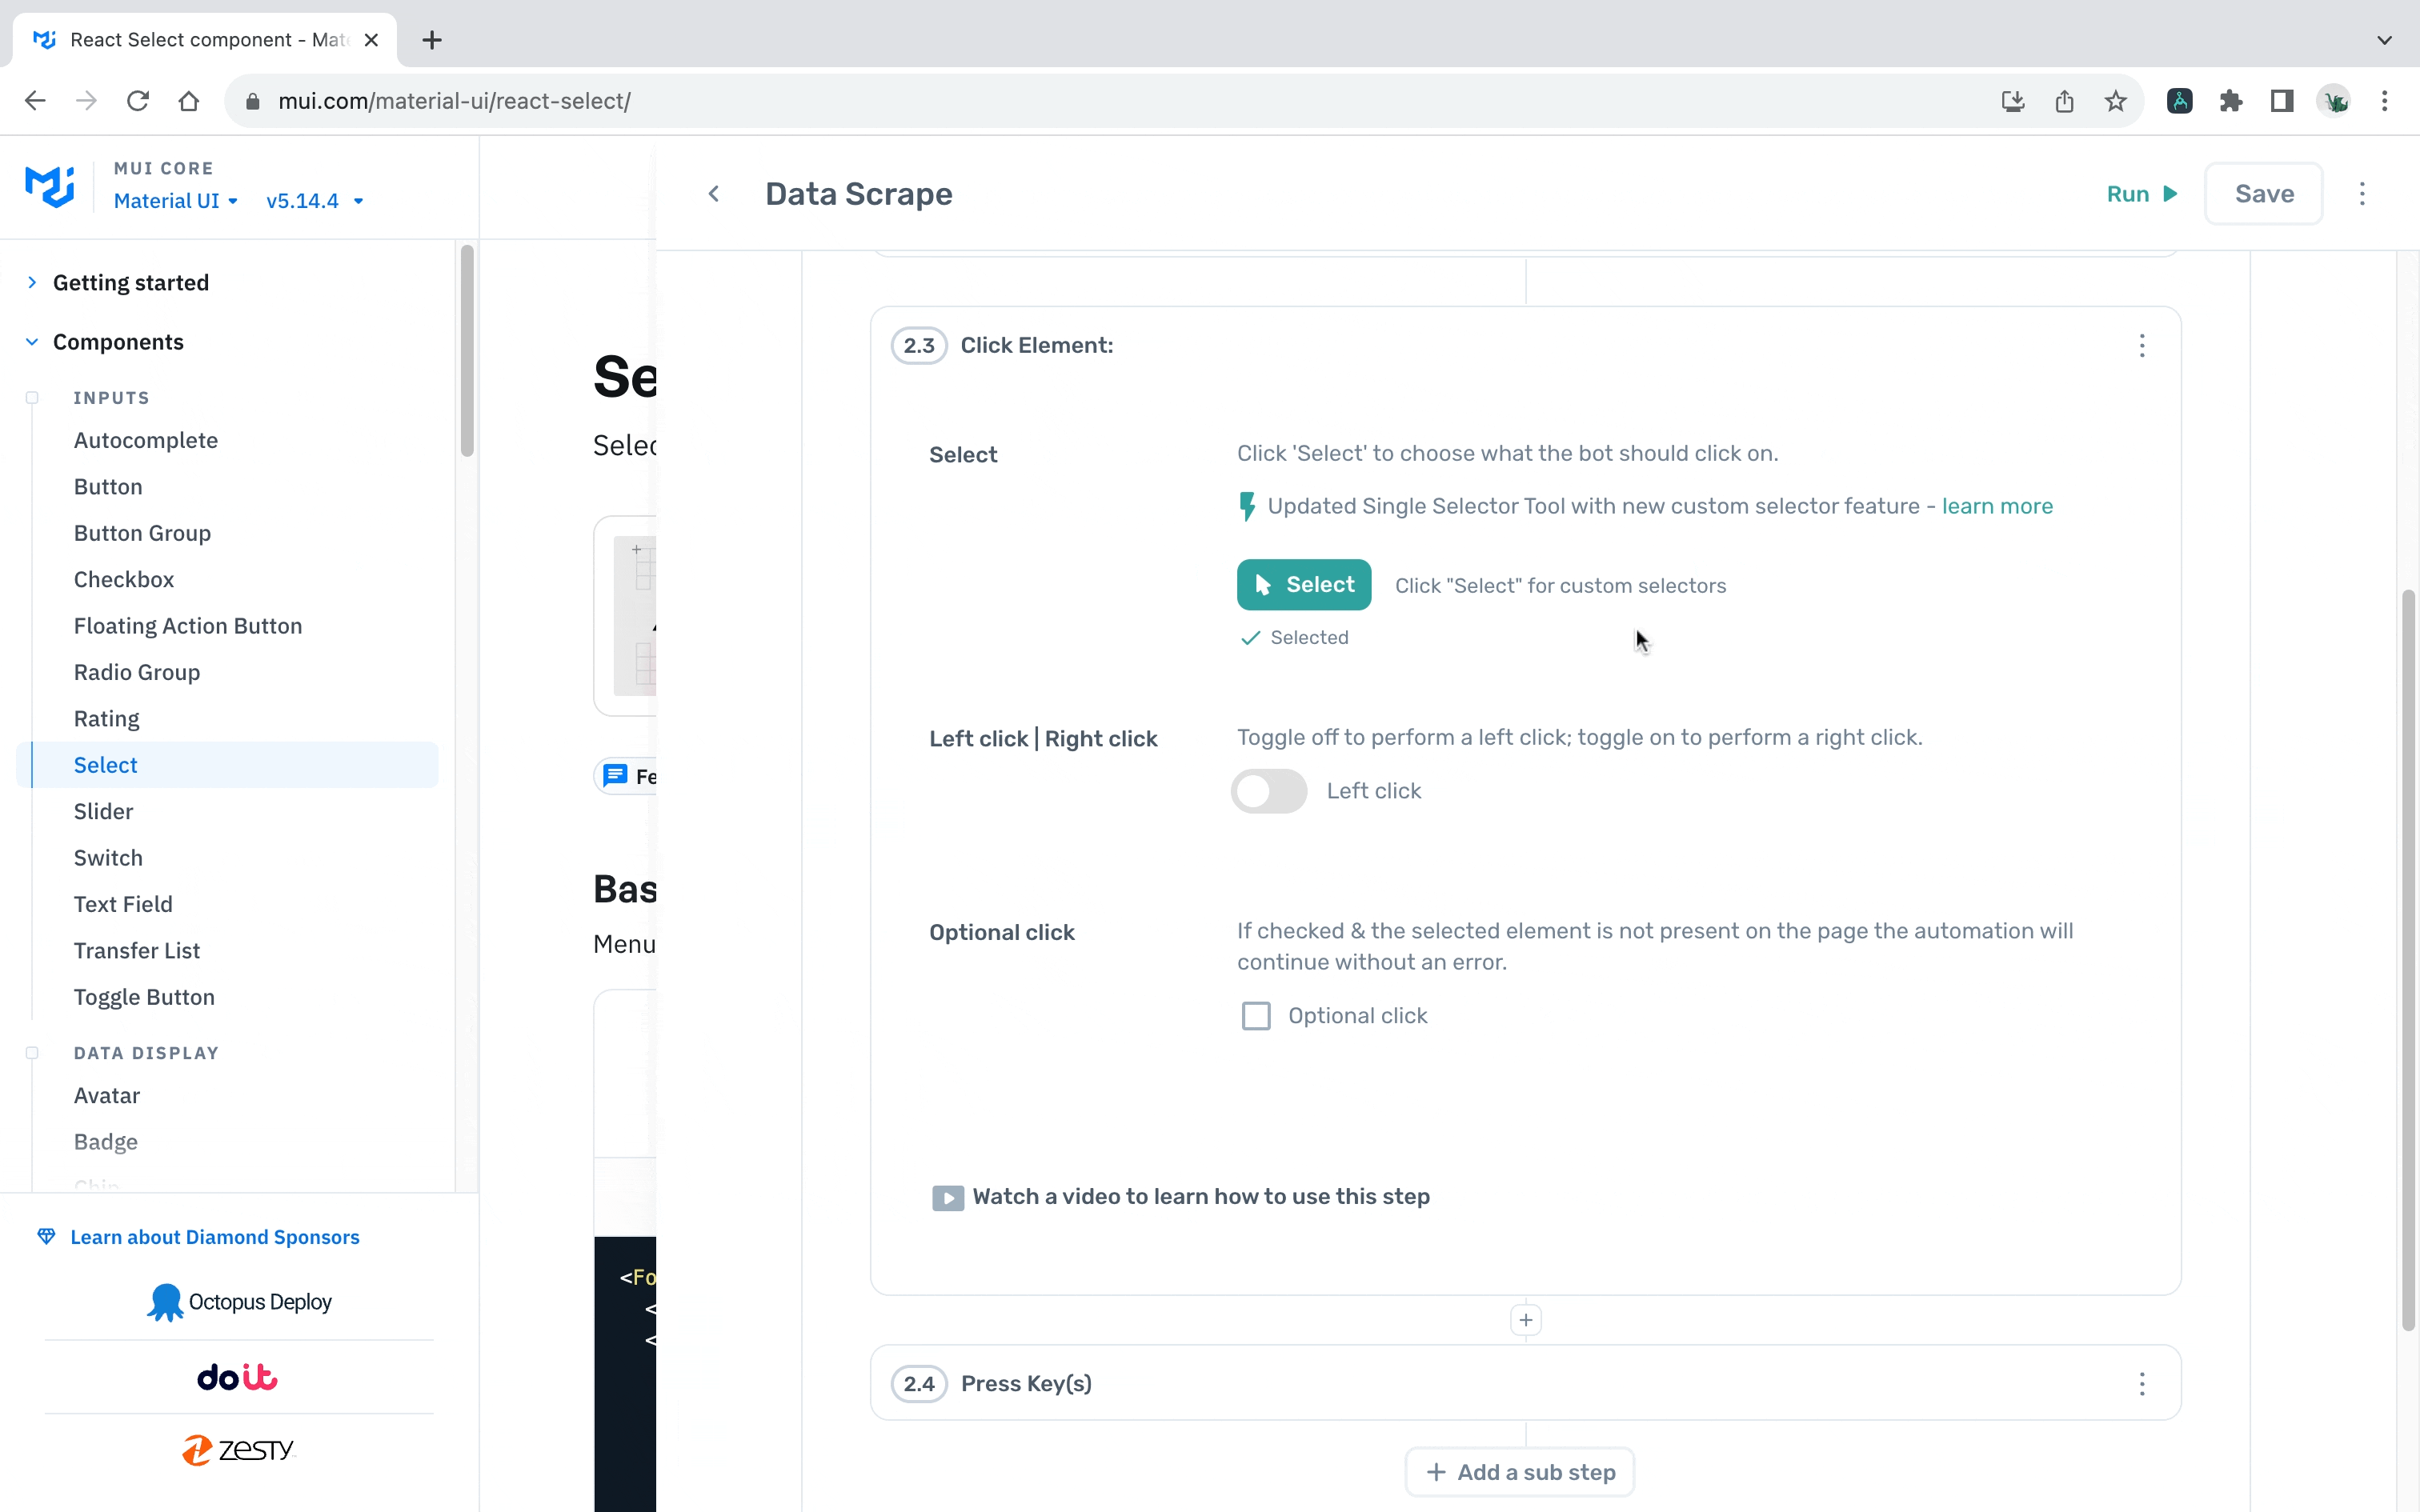
It is also possible to select an option in a dropdown menu using Axiom by combining the 'Click Element' with the 'Press Key(s)' step. The process involves first triggering a click event on the dropdown field to expose the options, then emulating keyboard arrow key presses to navigate through the options, and finally using the 'Enter' key press to select the desired option. This approach essentially replicates the natural user interaction with a dropdown menu on a web page:
- After a page is loaded (With a
Go to pagestep for example) click the “Add step” button. - Choose
Click Elementin the step listing and click the select list. - Choose
Press Key(s)in the step listing. - Input the necessary keypresses to select the correct option. For example, to select option 2, “Arrow down”, “Arrow down”, “Enter”
# Use the keyboard
Where it is possible to use the keyboard, it is recommended to do so. In general, using keyboard shortcuts with web applications is faster and works more reliably than complex sequences of clicks - so if an application offers keyboard shortcuts, use them in your automations!
The main way to use the keyboard is using the Press Key(s) step. There are two ways to use this step: by recording keypresses directly; or by using data to pass in the keys to press (useful if these need to be dynamically generated).
Rather than selecting inputs with the 'Enter Text' command, you can Press Key(s) and input one or more Tab characters. If you do this, when creating your 'Enter Text' step do not select an element.
# Record key presses
To record keypresses, add the Press Key(s) step. Once it is added, you should see a red record button; click this to begin recording keypresses. While Axiom is recording, whatever key you press will be stored. Click the "Stop" button to stop recording. When your bot runs, this sequence of keypresses will be played back.
Usually, the keys are pressed in sequence. However, there is an exception for the Control, Alt and Shift keys; these are held down until the next keypress.
So if "Control, N, Enter" is recorded into the "Press Key(s)" widget, when Axiom runs it will play back "Control+N, Enter" when it runs.
# Use data
The second way to use the Press Key(s) step is to use data. This allows you to dynamically pass in the keys to be pressed based on another data source. Like all data, select the token you wish to use by clicking the yellow "Insert data" dropdown.
When using data, you must specify a delimiter so that Axiom knows how to understand the information it is getting. The default delimiter is "||", but it can be set to any value you wish. Each key to press should be separated by this delimiter.
For example, if the delimiter is left at its default "||", and the data "f||o||o" is passed, the bot will press the keys "f, o, o" in sequence when it runs. If the bot is passed "Control||N||Enter", it will press "Control+N, Enter".
When data is provided, any recorded keypresses are ignored - the data takes precedence.
# Use custom selectors
Axiom accepts custom selectors. You can optionally use these instead of the selector tool, in instances where the provided tool is not able to select the element you'd like to click on.
To add a custom selector:
- Click the "Select" button
- Delete anything that is in there
- Enter the desired selector into the text field, and click 'Complete':
Axiom will accept any valid CSS selector, as defined here: https://www.w3schools.com/cssref/css_selectors.asp (opens new window).
To determine a good custom selector to use, we recommend right clicking on the element you want to use, and clicking "Inspect Element" from the dropdown menu that appears:

This will open Chrome Dev Tools; you will see the HTML of the page on the upper pane, with the element you clicked on currently highlighted.
Selectors are a broad topic, so we can't cover everything here, but two quick tips are to look for "id" and "class" in the HTML. For example, take the following HTML code:

You can see that this HTML code includes the text 'class="ssrcss-f1h9ew-MainSection eustbbg2"' and 'id="main-content"'. This means that any of the following three custom selectors would work to select this content (there are three because classes are separated by spaces in HTML):
- .ssrcss-f1h9ew-MainSection
- .eustbbg2
- #main-content
Using custom selectors can be challenging. We are always happy to help with more complex requirements - please get in touch at support@axiom.ai or submitting the form on https://axiom.ai/customer-supprt (opens new window) if you need assistance!
# Check if a checkbox is checked
In cases when you would like to first check if a checkbox is checked, scrape the HTML element, then based on the condition jump to a respective set of steps:
Use the Chrome "Inspect" feature to examine the checkbox element and determine if any attributes of the checkbox HTML element change when it is selected.
Select the “Get data from webpage” step from the step listing.
Click on “Select” within the “Get data from webpage” step
Set the custom selector to HTML and choose the checkbox element which need to be checked.
Click on the “Add step” button and choose “Conditionally jump to another step”. In the “Data to check” field, select the data from the previous step to check for values and set other relevant fields based on your requirements.
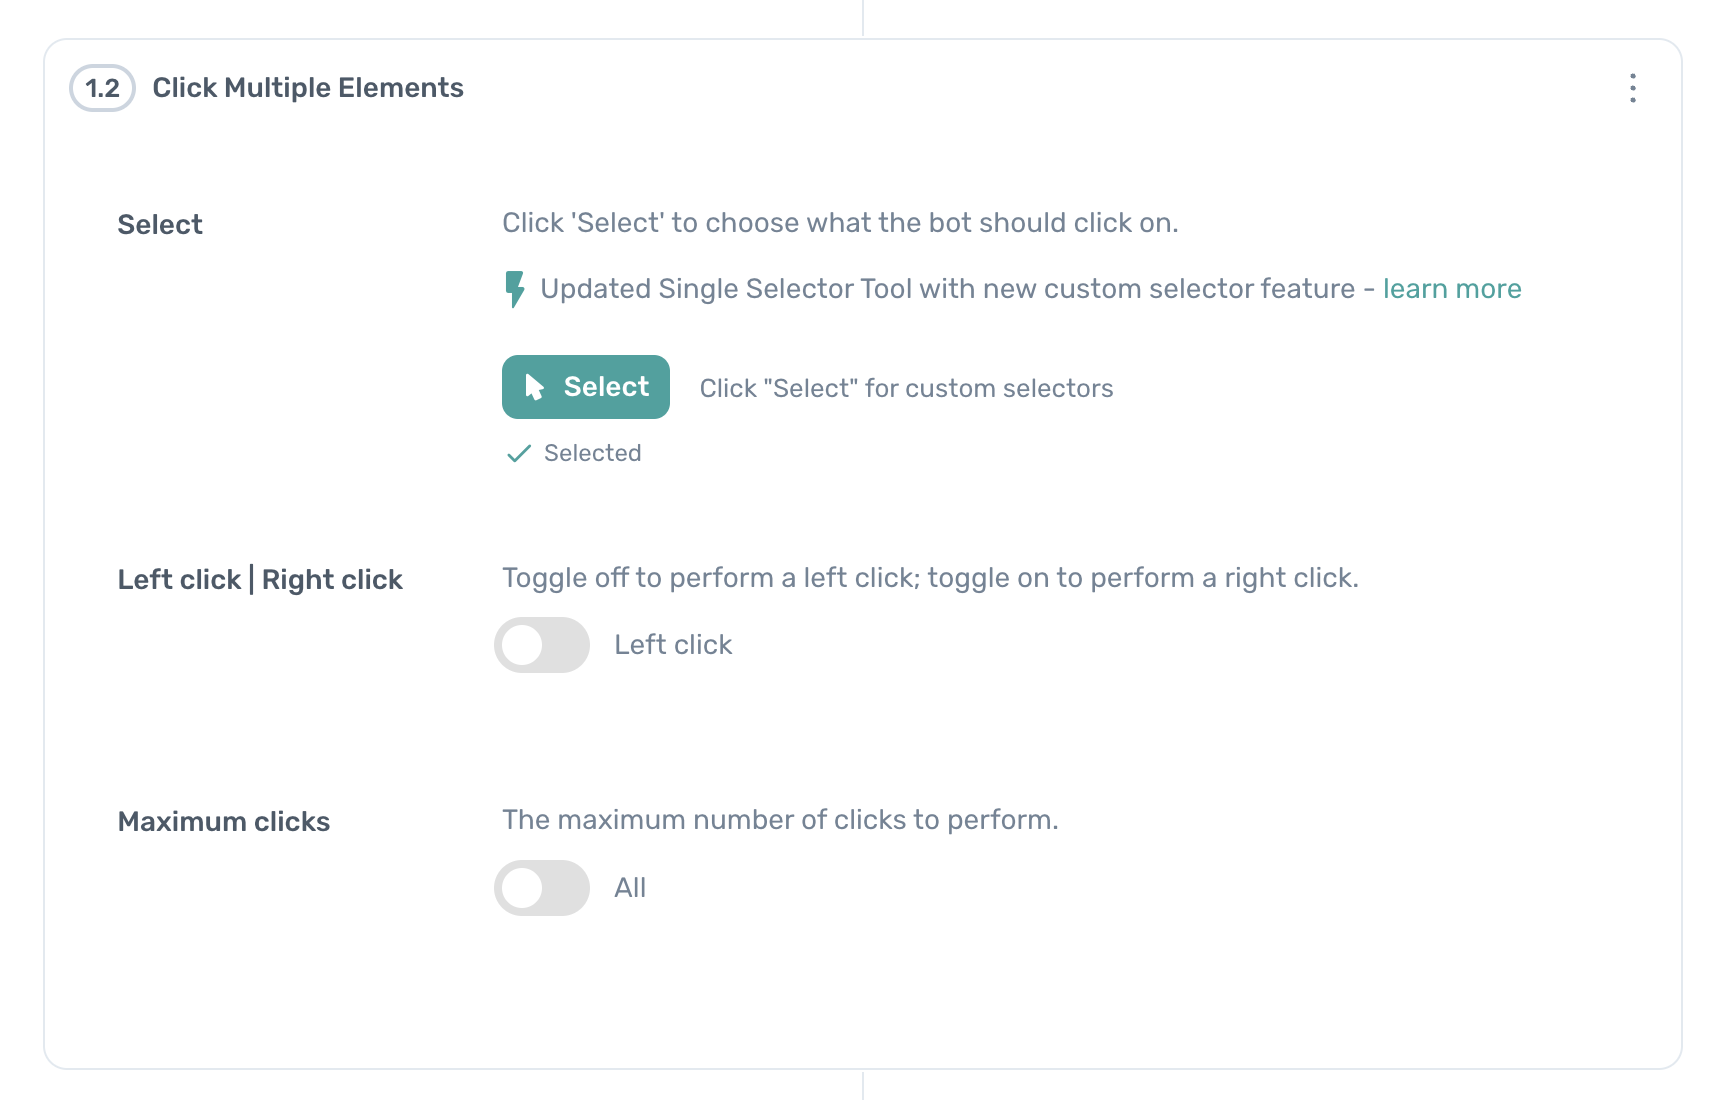
# Click multiple buttons on a page
With Axiom, you can automate the process of clicking multiple buttons on a webpage. This is useful when you would like to expand several sections on a webpage, for example:
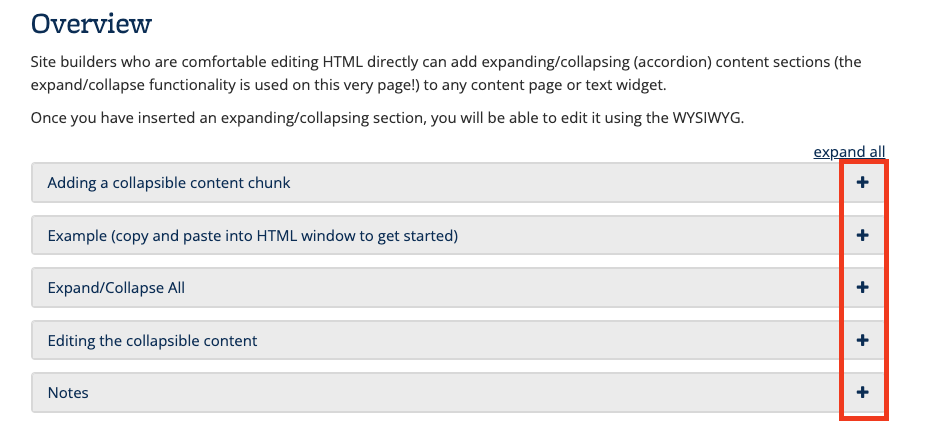
The process involves identifying a selector which is common for all the buttons and using the "Click Multiple Elements" step to simulate the user interaction of clicking multiple buttons on a webpage:
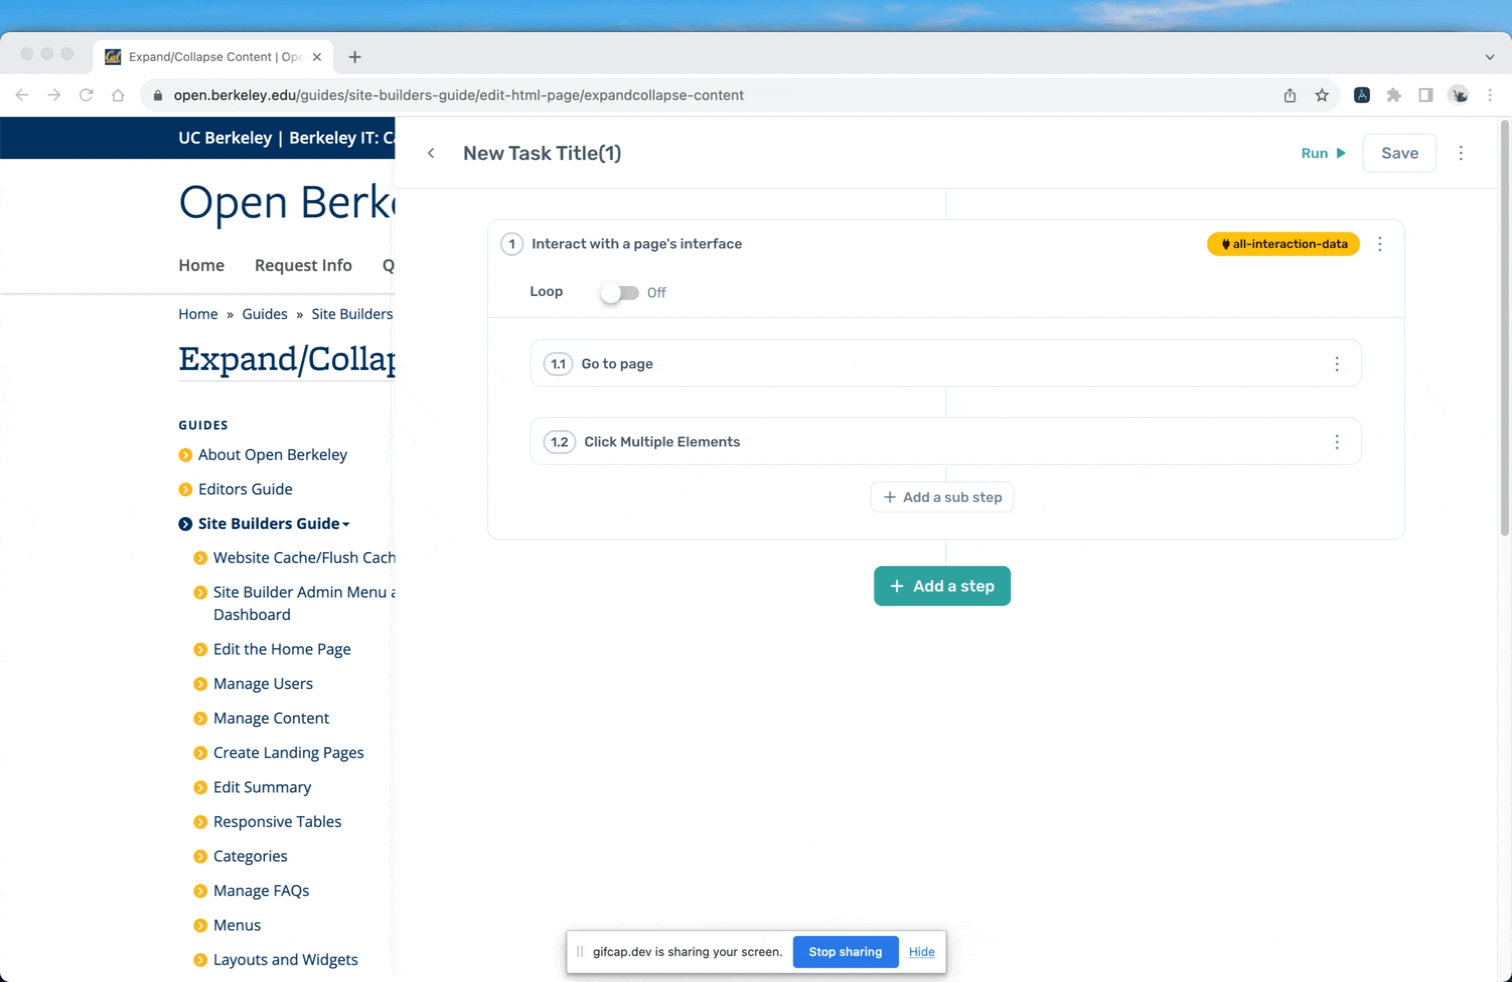
To use the step:
- Choose “Click Multiple Elements” in the step listing.
- Click “Select” and choose the buttons which need to be clicked.
- Left click | Right click: Toggle off to perform a left click; toggle on to perform a right click.
- Maximum clicks: The maximum number of clicks to perform. By default “All” is enabled, toggle the switch to specify the number of clicks.